


Natural-Cane-Webbing-Roll-and-Round-Reed-Coil-for-DIY-Furniture-Making-and-Wicker-Weaving-1-247x296.jpg)
Natural-Cane-Webbing-Roll-and-Round-Reed-Coil-for-DIY-Furniture-Making-and-Wicker-Weaving-7-247x296.jpg)


10 Wicker Basket Making Tips To Make Your First Basket Easy As Pie
Do you love baskets? If so, you’re not alone. Baskets are one of the most popular kinds of crafts around, and for good reason. They’re easy to make, and they look beautiful hanging in any room. In this blog post, we’ll show you how to make your first basket using some basic wicker basket making tips. From choosing the right materials to crafting the perfect basket, we’ll have you making a masterpiece in no time at all.
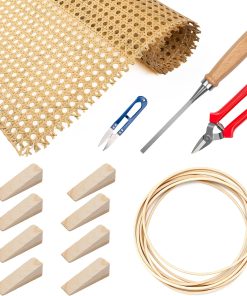
What You Will Need
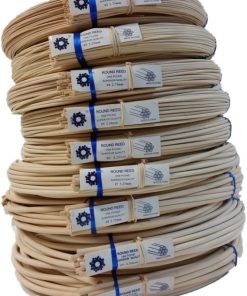
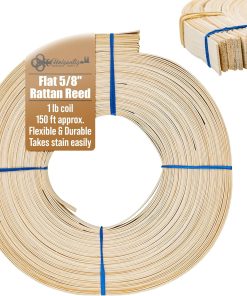
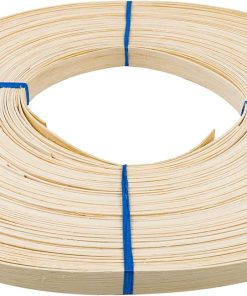
To make a wicker basket, you will need some supplies: -Wicker material (enough for a basket 2-3 times your desired size) -Ruler or measuring tape -Paint or a sealant -Polyurethane varnish
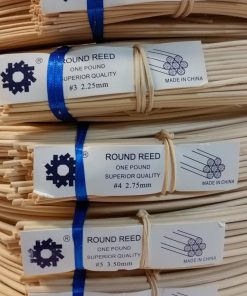
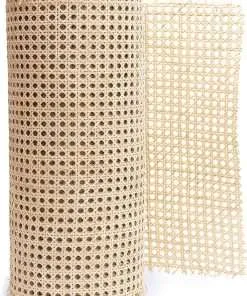
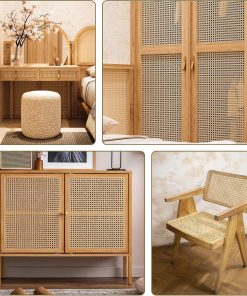
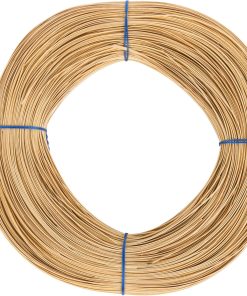
Choosing The Right Wicker Material
When it comes to wicker baskets, the material you use is important. There are a few things to consider when choosing a wicker material: weight, color, and durability.
Weight is important because you don’t want your basket to be too heavy to carry. Wicker is usually light enough that you can carry it without feeling weighed down, but heavier materials like metal will give your basket more heft.
Color is also important. You might think that all wicker baskets are the same color, but that’s not always the case. There are a lot of different colors of wicker available, so make sure you choose one that complements your decor.
Durability is also important when choosing a wicker material. You don’t want your basket to start falling apart after just a few uses. Look for materials that are both strong and easy to clean.
Assembling the Base of Your Wicker Basket
1. Start by cutting the wicker basket into desired shape. The size of the basket will depend on what you plan to put inside it.
2. If you are using a pre-made template, trace around it onto a piece of wood. Use a jigsaw or a handsaw to cut out the template.
3. Once the template is cut, use a drill and screws to attach it to the base of your basket. Make sure that the screws go through both sides of the template so that it is sturdy and won’t come loose during use.
4. Now is time to paint or stain your new wicker basket! We recommend using an exterior paint or stain because this will protect your new basket from weathering and fading over time.
5. Finally, add any decorations that you like (seeds, ribbon, etc). Your new wicker basket is ready to be used!
Making the Sides of Your Basket
If you’re someone who loves to garden, then a basket full of fresh produce is always a joy. But with the warmer weather in store, making your own baskets can be a fun and easy way to get your hands dirty. Here are some tips on how to make your first basket:
1. Choose a sturdy basket material. Wicker is a good choice because it’s strong and can last for years outdoors. You can also use cloth or other materials, but wicker is easiest and most affordable.
2. Start by cutting the basket’s sides. This is the most time-consuming part of making a basket, so go slowly and make sure your cuts are accurate. Also, be sure to leave enough space between the inner and outer sides of the basket so that you can fit in all of your goodies!
3. Fill the gaps with hay or straw stuffing. This will help keep things inside the basket and prevent them from falling out when you carry it around.
4. Finally, cover the top and sides of the basket with fabric or another material to create an attractive finish. If you’re using cloth, be sure to hem it so that it reaches all the way around the perimeter of the basket
Joining the Sides Together
Making a basket is one of the easiest crafts you can do, and you can make it in just a few simple steps. Here are some tips to help you get started:
1. Prepping the Wicker: If your wicker is new or hasn’t been used in awhile, be sure to clean it thoroughly before starting your project. This will remove any dust, dirt, or debris that could make the basket difficult or impossible to work with. Use a hose and soap if needed.
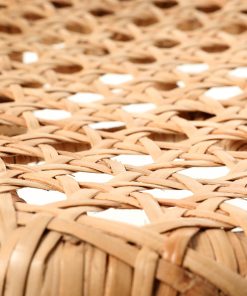
2. Measure Your Wicker: Before starting to weave, be sure to measure the width and length of your wicker pieces. This will make the weaving process much easier and ensure that your finished product is accurate.
3. Weave the Pieces Together: Once you have measured your pieces, begin weaving them together by pulling each piece through the hole created by the previous stitch. Do not over-weave; this will cause your basket to become too tight and difficult to handle.
4. Finish Off The Edges: Once you have woven all of the pieces together, be sure to finish off the edges with a few stitches using a special knotting tool called a “basket cord” (or a sturdy piece of thread). This will keep your basket looking tidy and professional!
Finishing Up Your Wicker Basket
There are a few things you’ll need to do before you can start making your wicker basket. First, clean the wood with a cloth and then sand it down. This will give your basket a smooth finish. Next, paint the wood any color you like and then let it dry. Finally, put together your basket using fishing line and hooks.
Conclusion
We hope that our 10 wicker basket making tips have given you the necessary knowledge and tools to start your own wicker baskets. Whether you are looking for a gift for someone special or just want to create an easy and stylish addition to your home, our tips will help you achieve success. Be sure to check back soon for more tips on how to make the perfect wicker basket!