


Natural-Cane-Webbing-Roll-and-Round-Reed-Coil-for-DIY-Furniture-Making-and-Wicker-Weaving-1-247x296.jpg)
Natural-Cane-Webbing-Roll-and-Round-Reed-Coil-for-DIY-Furniture-Making-and-Wicker-Weaving-7-247x296.jpg)


Wicker Caning Supplies: Everything You Need To Get Started
Wicker caning supplies are essential for anyone interested in starting a caning business. Not only do they provide the materials you need, but they can also teach you the ropes of the trade. In this blog post, we will take a look at everything you need to get started caning with wicker supplies. From the materials you’ll need to the tools you’ll need, we’ll have it all covered. So read on to learn everything you need to get started caning!
What is Caning?
Caning is a form of punishment that involves using a thin, flexible cane made from wicker or other similar materials. Caning can be administered on the body, hand, or rear end. The strokes may be hard or light, and can leave a variety of painful welts.
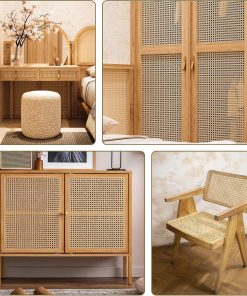
Types of Wicker Canes
There are a few different types of canes available on the market, but the most popular ones are wicker canes. Wooden canes are also available, but they tend to be heavier and less comfortable to use. Wicker canes are made out of strips of wood that have been twisted together into a cane shape. They are usually light and easy to carry, which is why they are often used as walking sticks ornaments. There are a few different types of wicker canes available on the market, but the most popular ones are
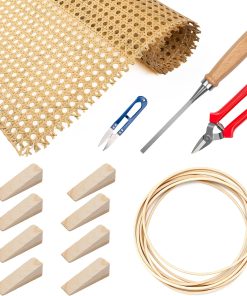
Supplies You’ll Need
When caning, it is important to have the necessary supplies on hand. Below are the supplies you’ll need to get started:
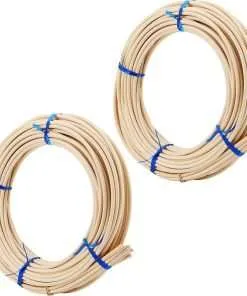
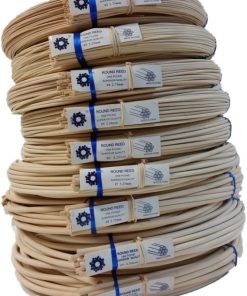
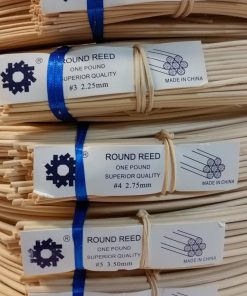
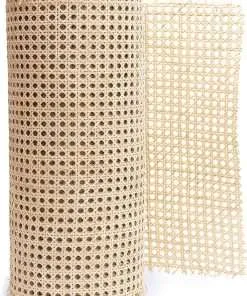
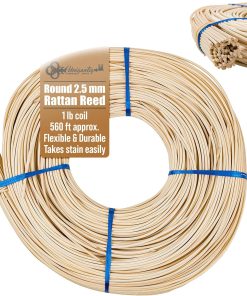
-Wicker cane
-Caning knife
-Caning foot pedal
-Piping bag or container
-Stiles (optional)
-Basket or tray
-Water bath canner (optional)
Wicker canes come in a variety of lengths and diameters, so be sure to select one that is suitable for your project. The cane should be at least 18 inches long and 1 inch in diameter. Caning knives come in a variety of shapes and sizes, so find one that best suits your needs. It is also helpful to have a foot pedal for faster operation. A piping bag or container can be used to fill the stiles with water before placing them in the water bath canner. Finally, if you plan to use stiles, be sure to purchase them before beginning your project. Stiles are optional, but can make shaping the ends of the cane much easier.
How to Can fruits and vegetables
When it comes to canning fruits and vegetables, there are a few supplies that are essential for a successful outcome. Here is a guide on how to get started canning:
The first thing you will need is a pressure canner. A pressure canner is used to safely create high-pressure steam that cooks food inside the jar. It’s important to get one with the right specifications as it will affect both the quality of your food and the time it takes to can.
Next, you will need a set of canning lids. The lids attach to the top of the jar and must be tight in order for your food to seal properly. They should also fit snugly on the jars so they don’t come off while hot.
Lastly, you will need some sort of water bath Canner Rack or Canning Pot Setup. This will allow water to circulate around the pot while preserving heat which is essential for safe canning temperatures.
Tips for a successful canning project
Canning is a great way to preserve food, and it’s relatively easy to get started. Here are some tips for a successful canning project:
1. Get the right tools. Canning tools include a canner, jar lifter, funnel, ladle, tongs, and a spoons. You don’t need all of these items for every type of canning project, but they’re all helpful.
2. Read the recipe carefully. Most recipes provide specific instructions for how many jars to make and what kind of food to can. Make sure you understand all of the steps before starting your project!
3. Preheat your oven or stovetop before beginning your canning project. This will help to ensure that your jars heat evenly and do not seal prematurely due to cold temperatures.
4. Clean and sterilize your equipment before starting your canning project. Sterilizing your jars will prevent bacteria from growing in them and causing spoilage later on down the line. Be sure to also clean the lids and rings with hot water before using them again!
5. Fill your cans with food according to the recipe instructions. Make sure that everything is properly heated before adding it to the pot—overheating could cause foods to break while they’re being sealed in jars! Once everything is in the pot, bring it up to a boil and then reduce the heat so that it simmers gently