


5 Woven Cane Projects You’ll Love To Make
Introduction
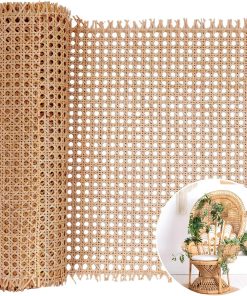
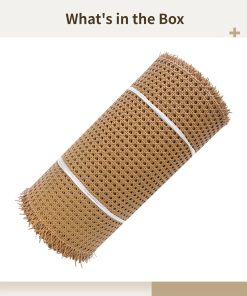
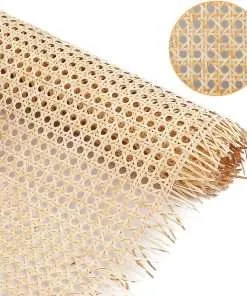
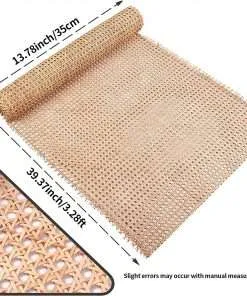
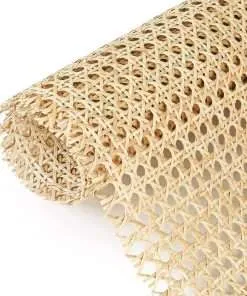
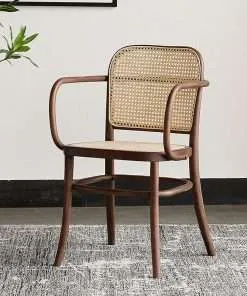
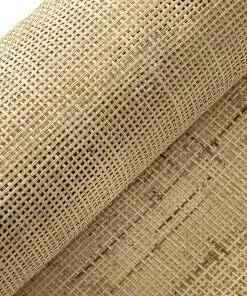
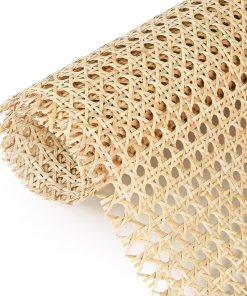
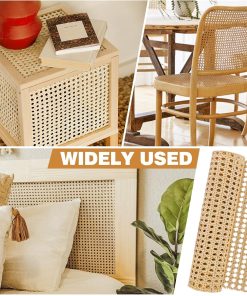
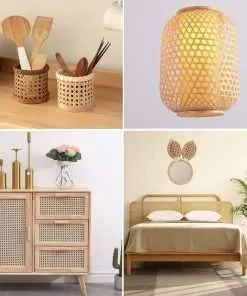
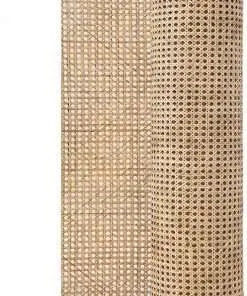
When you think of cane weaving, you may think of traditional African tunics or baskets. But there are countless other possibilities for woven canes, including home decor, accessories, and even furniture. In this blog post, we’ll explore five woven cane projects that you’ll love to make. From a simple basket to an intricate curtain design, these projects are sure to please. So get started on your project today and see just how beautiful woven canes can be!
The Cane Woven Floral Table Runner
If you’re in the mood for a touch of floral elegance, but don’t want to break the bank, try making a table runner using cane weaving! This fun and easy project can be completed in just a few hours and looks great hanging over your dining table. Here are step-by-step instructions on how to weave a cane table runner:
1. Begin by taking your desired length of woven cane and threading one end through the hole at the top of your spindle. You’ll need to do this for every strand of cane you use.
2. Now take each individual strand of cane and tie it off at the bottom of your spindle, making sure that each tie is tight against the next.
3. Next, start weaving your strands in and out of each other, going up one side of the spindle and down the other. Be sure to pay attention to the spacing between each row of stitches – it should be about 1/4 inch (6 millimeters).
4. Once you’ve reached the end of your row, cross over your rows once again and start weaving towards the beginning. Keep an eye on how closely you’re following the stitching pattern – if it starts to look wonky, go back and fix it up until everything looks nice and symmetrical!
The Cane Woven Scarf
Looking for a unique and stylish scarf project? Check out this tutorial on how to make a cane woven scarf! This project is easy to follow, and can be completed in just a few hours. You’ll need basic supplies including a bundle of cane straws, cotton fabric, and a sewing machine. Once you have all of the materials assembled, it’s time to start weaving! The process is simple; first, cut the fabric into strips about 18 inches long. Next, weave the strips together using a running stitch or zigzag stitch. Once you’ve completed the entire scarf, trim off any excess fabric. You’re now ready to enjoy your new masterpiece!
The Cane Woven Blanket
As the temperatures start to drop, it’s time to start thinking about warm coats and blankets. One of the simplest, but still very cozy, blankets is a woven cane blanket. This blanket is made by weaving together small strips of cane into a blanket-like fabric.
To make this project, you will need:
-Cane (enough for a blanket approximately 60×60 inches)
-Scissors
-Thread
-Iron or an ironing board
-Yardstick or other straight object measuring 60 inches long
1. Start by cutting your cane into equal lengths of 30 inches. You’ll need 56 pieces in total. Tip: To make it easier to weave the strips together, try to keep the strips even in width and length. Also, try not to cut too close to the end of the cane – this will lessen the likelihood of fraying during weaving. 2.Begin by threading one strip through the eye of an ironing board or a yardstick (as seen in image above). Make sure that the strip is centered on the tool and that it is stretched taut across both ends (as seen in image below). Now take another strip and place it over top of the first one like shown in photo below – making sure that both ends of each strip are lined up with those on either side (see arrows). 3.Using your fingers and thumbs, begin pulling each end of the strip towards you until they meet
The Cane Woven Shower Curtain
Cane-woven shower curtains are a unique and stylish way to add a touch of luxury to your bathroom. Not only are they chic, but they can also be difficult to make. If you’re up for the challenge, these curtains are a great way to show off your creative side and improve your home decor at the same time.
To create a cane-woven shower curtain, you will need:
-A length of sturdy cane (around 24 inches is ideal)
-Scissors
-Nylon webbing or heavy duty thread
-Fabric glue or hot glue gun
-Tape measure
-Ruler or straight edge
-Circular saw with carbide blade (or other type of saw that can be adapted to cutting fabric)
-Paint or fabric adhesive (optional)
1. Begin by measuring the circumference of your shower curtain rail. Add 1 inch to this measurement for seam allowances. You’ll also want to allow for an allowance for the thickness of the curtain material itself (roughly 2 inches). Cut the circumference of the desired curtain panel out with a circular saw or jigsaw. Be sure to leave an allowance for sewing on either side of the cut line. Sewing through multiple layers of fabric can be tricky, so take care while doing this step! Turn your newly cut curtain panel right side out and press it gently before filling in any seams with Fabric Glue or Hot Gl