
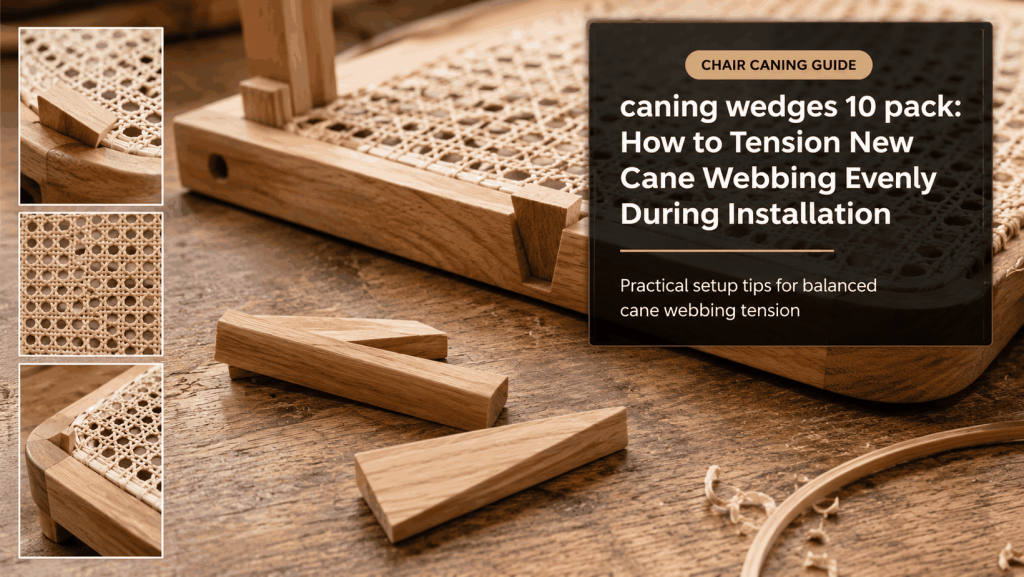

caning wedges 10 pack gives a pressed-cane installer multiple temporary holding points around the chair groove. The wedges are not used to create final drum-tight tension. Their job is to keep the wet webbing centered, seated, and stable while the installer works around the perimeter and prepares for spline.
Even tension comes from sequence. If one side is wedged fully before the opposite side is positioned, the mesh can drift, rotate, or consume too much material in one groove. A balanced center-out pattern gives the installer time to correct alignment before glue and spline make the position permanent.
How to Use Caning Wedges 10 Pack as Temporary Webbing Clamps
Use temporary webbing clamps only after the sheet has been positioned over the opening with enough extra material to enter the groove on every side. The first hold should establish alignment, not force the webbing deep into one area.
Start at Opposite Centers
Press a short section into the front-center groove, place a wedge, then repeat at the rear center. Add left and right center holds next. These four points create a reference grid that makes diagonal drift easier to see.
Good cane sheet tension control uses broad temporary pressure instead of hammering wedges as deeply as possible. Wet cane can be bruised or kinked at the groove line when the wedge edge is driven too hard.
Treat Mesh Rows as Alignment Guides
Before adding more wedges, step back and look at the visible horizontal and vertical pattern. If rows angle toward one corner, release the nearest hold and correct the sheet now. Extra force on the opposite side usually makes the distortion harder to control.
Build a Groove Seating Sequence That Keeps the Mesh Centered
A controlled groove seating sequence alternates sides and leaves open groove between wedges. That open space is where you work the next section of cane down without crowding tools against several tightly packed wedges.
Balanced Wedge Order
- Center the webbing over the seat opening
- Seat and wedge the front center
- Seat and wedge the rear center
- Add left and right center holds
- Recheck pattern direction
- Add paired wedges midway toward corners
- Work curves in short sections
- Leave room for spline to replace each wedge
- Trim final excess only after position is confirmed
For wedge spacing for caning, there is no universal inch measurement for every frame. Long straight rails may need fewer holds than tight curves, while an irregular opening may need one extra wedge where the pattern wants to lift.
Do not place wedges directly in a corner just because the corner feels difficult. Work toward the turn from both adjacent sides, seat the cane progressively, and avoid folding the wet webbing into a sharp crease.
Check Webbing Alignment Before Spline or Glue Locks It in
A repeatable webbing alignment method checks the mesh from the front rail, side rail, and seat center. Do not judge alignment from a single close viewing angle.
| Check Point | Correct Condition | If It Is Wrong |
|---|---|---|
| Front-to-back rows | Parallel with the chair reference | Release nearest wedge and recenter |
| Side-to-side rows | No diagonal drift | Correct before adding more holds |
| Groove entry | Cane seated without sharp kinks | Lift and re-seat gently |
| Corners | Material turns without bunching | Work shorter sections from each side |
| Wedge pressure | Enough to hold, no crushing | Back wedge out slightly |
| Spline path | Open working space remains | Remove or reposition one wedge at a time |
The Canadian Conservation Institute explains that cane and other plant fibres become more flexible as they absorb moisture. That context is useful for pre-gluing cane setup: the wet sheet can be positioned and corrected, then will stiffen as it dries, so excessive temporary tension is unnecessary.
Dry-fit the spline end before glue is applied. If the spline is obviously too large or too small for the cleaned groove, stop and recheck sizing rather than using wedge pressure to compensate for an incorrect spline.
Transfer Wedge Holds to Spline without Losing Tension
Spline should replace the temporary holding system progressively. Remove the wedge immediately ahead of the section you are installing, seat the cane if it lifts, then press the spline into that portion of groove before moving to the next wedge.
Do not remove all ten wedges at once. The webbing can shift before the spline has enough perimeter contact to hold it. A one-at-a-time transfer keeps the established alignment while the permanent retention system takes over.
Trim obvious excess only after the webbing position is stable. Cutting too early can leave too little material to re-seat a section if the pattern needs a final correction near a corner.
Use Wedges for Alignment First and Final Tension Second
caning wedges 10 pack works best as a temporary alignment system. Center the sheet, establish opposite reference points, add holds in a balanced sequence, and keep the mesh square while the cane is flexible.
The final seat develops from correct fit, spline retention, adhesive where appropriate, and natural drying. Wedge force alone does not make a professional pressed-cane repair, and excessive pressure can damage both cane and chair groove.
Frequently Asked Questions
Do I need to use all ten caning wedges on every chair?
No. Use enough wedges to hold the sheet evenly. The frame shape, groove length, and curves determine how many temporary points are useful.
How far apart should caning wedges be placed?
There is no single spacing for every chair. Start at opposite centers and add balanced holds where the sheet needs control.
Should wedges make the wet cane extremely tight?
No. They should hold position and alignment. Natural cane tightens as it dries, so excessive wet tension can cause damage.
When should I remove the wedges?
Remove them progressively as spline replaces the temporary hold in the same section of groove.
Can wedges fix an incorrectly sized spline?
No. Measure the cleaned groove and select the correct spline. Wedges should not be used to force a poor size match.
