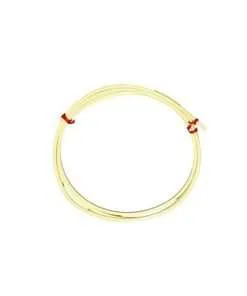


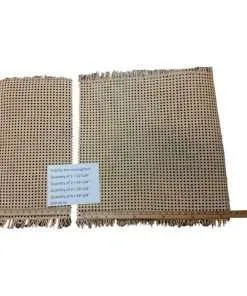


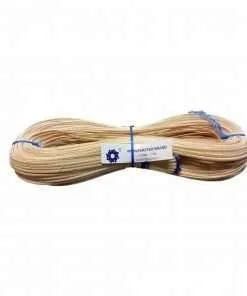
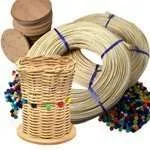


Basket Making Supplies
1 Pound Coil Of Round Reed, Natural Color, Any Size, #2,3,4,5,6,7,8,9,10 (#2)
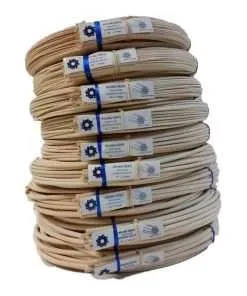
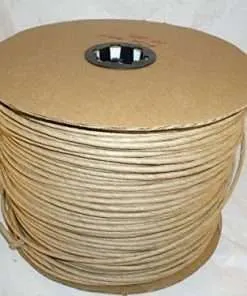
Basket Making Supplies
1 Pound Coil Of Round Reed, Natural Color, Any Size, #2,3,4,5,6,7,8,9,10 (#4)

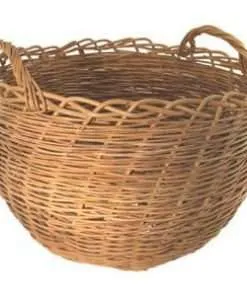

Willow is a natural material that has been used for basket weaving supplies for centuries. Willow baskets are strong and lightweight, making them perfect for dishes, planters, and more. In this article, we will explore the different types of willow baskets and what makes them so special. We will also provide a guide on how to choose the right willow baskets for your needs.
If you’re looking for a natural and sustainable way to add a touch of elegance to your baskets, Willow basket weaving supplies are the perfect option. Willow is an environmentally friendly material that’s easy to work with, making it a great choice for beginners.
Here are some supplies you’ll need to get started:
-Willow sticks (approximately 18 inches long)
-Basket weaver’s knotting cord (or other strong string)
-Tape measure
-Ruler or tape measure with centimeters marked on it
-Scissors
-Acrylic paint (optional)
-Paintbrush
-Large spool of thread
If you’re looking to weave a basket using willow, follow these easy directions:
To begin, gather your supplies. You’ll need a loom, tapestry needle,pair of scissors, and some willow branches. Cut the branches into even-sized lengths and spread them out on the ground. Weave one end of the yarn around a branch several times, then pull tight to create a loop. Do this again with the other end of the yarn, but this time leave one end dangling free. This is your working thread. Now it’s time to weave! Lay the loop over the top of the loom peg and weave it in and out between thepeg and the loop itself. Keep an eye on how wide your woven strip is getting; when it gets about 1/2 inch wide, stop weaving. Now cut off the free end of your working thread and tie it off in a knot to secure your work.
Weaving with Willow Basket Weave Technique
If you’re thinking about trying Willow Basket Weave, these tips will help get you started! Willow is a natural fiber that is strong yet flexible, making it perfect for baskets. You’ll need:
-Willow twigs, approximately 18 inches long
-Basketweave needles (size 17 or 20)
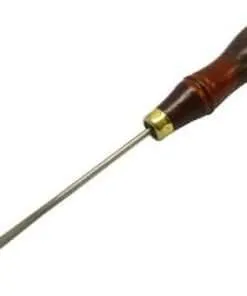
-Tapestry needle
-Scissors
-Batting or rugs to weave on (optional)
1. Start by splitting the willow twigs into about 6 equal parts. Take one part and thread it onto your tapestry needle. Bring the needle up through the center of the twig, then pull tight to create a loop. Do this with all of the willow parts.
2. Put the loops together like jigsaw puzzle pieces and hold them in your hand so they form a ball. Use your fingers to spread out the balls slightly, then start weaving them in and out of each other. Make sure that the weave is tight – you don’t want any gaps between the pieces of willow!
3. Once you have a continuous weft going across your basket, start adding batting or rugs to fill in any gaps as needed. Use your scissors to cut away any excess fabric, then tuck it underneath the weave for extra protection.
Wicker basket weaving projects are a great way to use up some of your leftover woven strips, and they can be created in a variety of ways. You can make simple baskets using just a few pieces of woven willow, or you can create more complex designs by combining different types of willow strips and weaving them together.
To create a simple basket, start by cutting several long strips of willow that are about 18 inches wide. You can also cut shorter pieces if you want, but the longer strips will give your baskets more shape and support. Next, lay the strips out on the ground so that they are in a straight line and overlap slightly in the middle.
Then start weaving the strips together like you would any other piece of fabric. Be sure to weave the ends tightly together so that the basket remains sturdy. Once you have completed one long strip, start wrapping it around itself once or twice to form a loop. Then continue doing this until you reach the end of the strip.
Once you have finished creating your first loop, tuck one end underneath itself and pull tight to form an opening for your basket. Do this with all of the loops until you have formed your desired size basket. To finish off your project, simply brush some paint or varnish over the top seam to seal it in place and add some beauty to your kitchen counter!